Administrator of Extreme WMS can now view user access log at one glance. He/she can easily tell the login and logout time of any user and most importantly their computer name and IP address.
There is a checkbox of "Accessed" in the datagrid. If the checkbox is checked, it means the user has SUCESSFULLY login to the system . There is also an Error checkbox to show if the user has encountered any error while they were using the system.
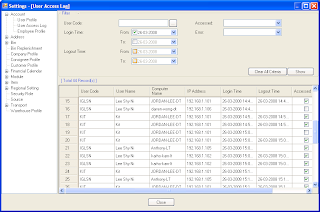 How To: Go to Tools | Settings | Account | User Access Log.
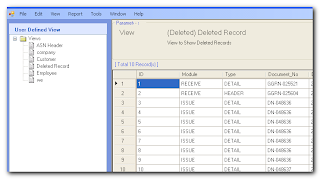
2. Traceability is one of the essential element in business system such as WMS. We have now included the deletion log in the system.
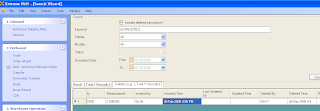 How To: The deleted record can be discovered from Search Wizard (Ctrl + F) by entering a particular document number in Keyword field. The deleted record will be shown "deletion log" tab.
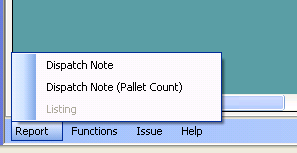
3. Print Two type of Delivery Note in Issue Module. The first type of Delivery Note does not print Pallet Count of items in the Delivery Note.
Caution: The Delivery Note (with Pallet Count) should only be used if there is a special request from customer that they wanted to have pallet count information printed on the Delivery Note.
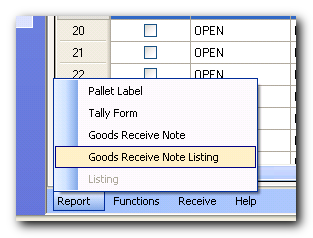
4. A new report namely "Good Receive Note Listing" is now available in Receive Note.
 5. The previous version does not allow more than one user to import transaction at the same time. 6.2.8 allows that!
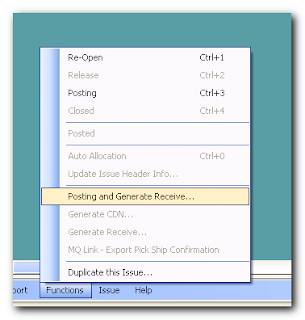
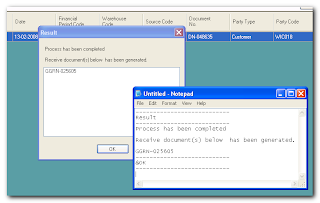
 6. You can post and Issue document and generate to a Receive document in one step. The two steps are now combined into one.
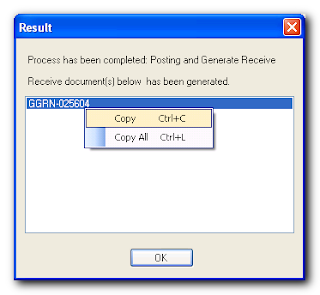
7. Unable to copy content of Extreme Dialog box makes communication between end users and system support life difficult. Hence, we have overcome this issue in this version.
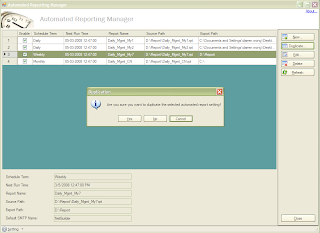
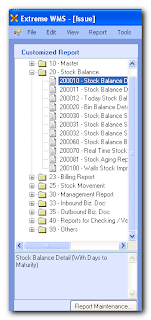
8. Customized Report Directory has got a better User interface especially it shows report descriptions in the bottom pane. Press Ctrl + R to hide and un hide the Customized Report Directory.
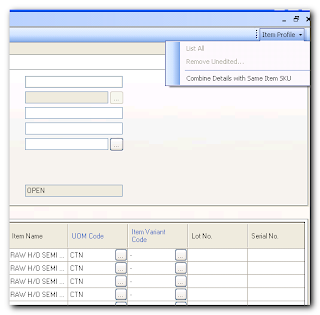
 9. Under certain circumstances, user might be entering same SKU more than one time in Issue details with different quantity. There is a little function available in the system to allow user in combining same SKU into one detail line instead of more than one line.
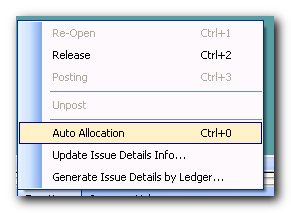
10. Shortcut key to Auto Apply (Issue and Ownership Transfer Module) and Auto Allocation (Order Module). We realize that shortcut key is one of the key elements in terms of user productivity. We have put in place some shortcut keys to OPEN, RELEASE, POSTING and etc.
In this version, We have now made "Ctrl + 0" (it is zero not an O) as shortcut keys to Auto Apply and Auto Allocation.
11. One of the annoying features after we have made "copy and paste" available is some of the textboxes are disabled after a document is saved. Once a textbox has become disabled, user will not able to copy the content from it. Hence, we have overcome it by making it "Read-Only" and allowed the content to be Copied.
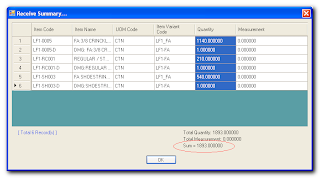
 12. You can now view the summation of selected cell in Summary dialog.
 13. You can now apply filter to any DataGrid in the system.
 How To: Press "F7" in a Datagrid or you may right click the datagrid and there will be a popup menu to allow user to enter the filter screen as shown above.
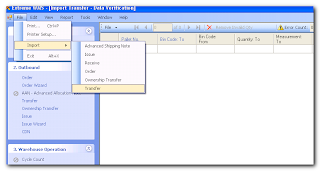
14. Import Transfer. Since we allowed user to import Receive, Order, Issue and even Ownership Transfer in the past. We should also include "Transfer" in the boat. However, Importing Transfer is not just a pure Importing interface, it also serves as an super simplified "Pallet transfer" interface whereby user can create a transfer document by just enter pallet numbers and its final location.
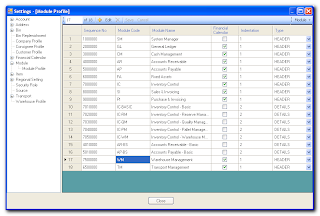
15. Module Setup is ready. Try not to make any change unless it is necessary.
16. Last but not least, user can now define their own "select" statement and make it as a ad hoc or enquiry with special purpose that is not generic to other warehouses.
17. We have added "Bin Type" in Inventory Physical Balance Enquiry screen.

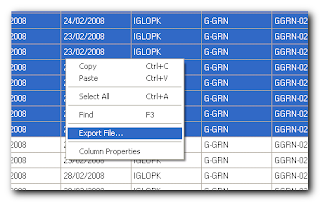
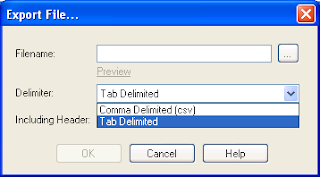
18. Users are now able to export data in DataGrid into Text File or CSV file.
How?
Open any of the datagrid in Extreme and use your mouse to select a range of rows that you wish to export, right click on the selected datagrid and click on the "Export File" in the menu.
The next window allows user to select where they wants to export the file to. Just specify it and job done.
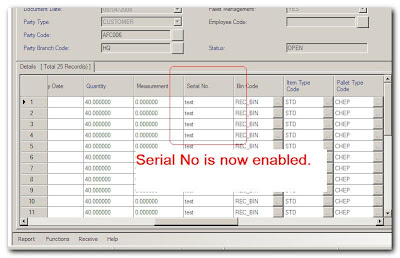
19. Added Serial No field into detail of transactions
In order to view the serial number field, user must remove User Preference files that kept in Config folder of Extreme.
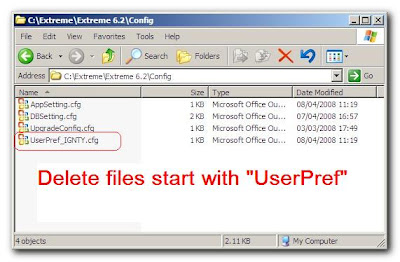 Administrators are advised to create a batch file so to make deletion of User Preference files easier.
Login to Extreme after User Preference files are deleted. You will then see Serial No field appears in every transaction detail grid.
